Postcrossers who love decorating their cards rarely start with the message. They start with the back of the postcard: a sticker here, a strip of washi tape there, a little drawing in the corner, and only then do they fit the message into the space that is left. Stickers and tape are familiar to almost everyone. But did you know that you can also decorate the back of a postcard with a rubber stamp?
How postcrossers decorate the back of a postcard
For a postcrosser, the back of a card is just as interesting as the front: it carries the stamps, the postmark, the handwriting and a few lines from a stranger. In postcrossing, cards are usually sent without an envelope, so the recipient sees your decorations straight away, together with the stamps and postmarks. The most popular ways to decorate the back are:
- markers and coloured pens — small drawings, frames, a weather icon next to the date;
- stickers — seasonal ones, or chosen to match the card or the recipient's interests;
- washi tape — strips along the edge and tiny collages;
- rubber stamps — impressions with lettering, frames and postal symbols.
On the postcrossing.com forum, in a thread about everyone's "standard kit" for writing postcards, members list rubber stamps alongside pens, stickers and tape — both name stamps and stamps for the Postcard ID.
Why use a stamp
- It's quick. A drawing takes a few minutes; a stamp takes a second. You really notice the difference when you are writing several cards at once.
- It's neat. The impression comes out tidy even if drawing isn't your thing.
- It's recognisable. The same design on all your cards becomes a little signature of yours.
- It comes in any colour you have. One stamp and a few ink pads, and you can match the impression to the postage stamps or to the design on the front.
Judging by discussions on the postcrossing.com forum, most recipients are delighted to find a decorated back.
Our postcrossing stamps
Postal Shop has offered stamps for postcrossers for many years, and in September 2026 we released a new collection of four. They were made to order to our own design.
What all four have in common:
- a handle made of natural beech with a varnished finish — the smooth wood feels lovely in your hand;
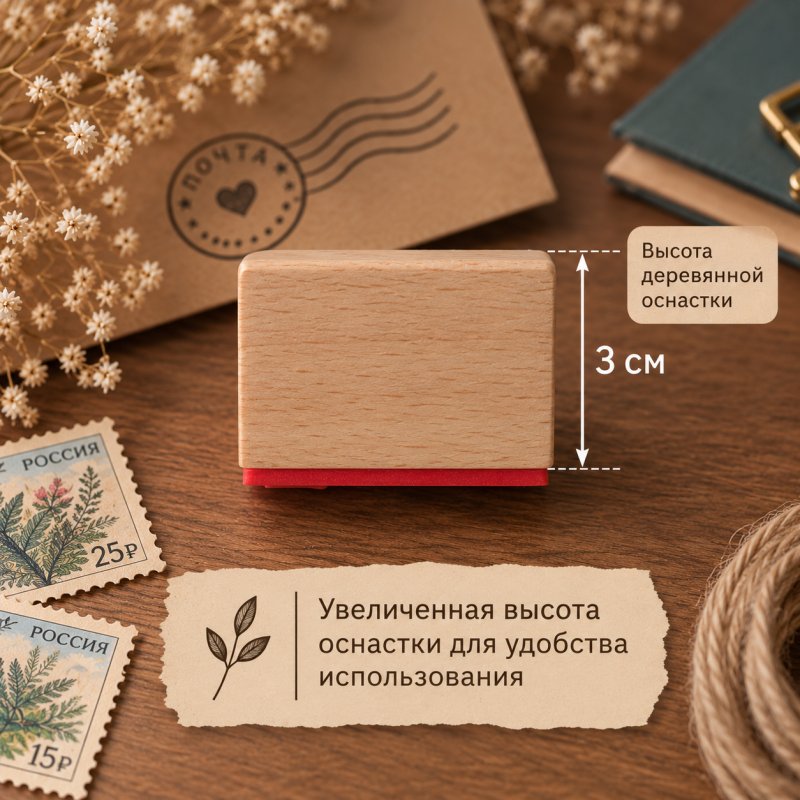
- a larger-than-usual block: 5 × 2 cm and 3 cm tall, so the stamp is easy to hold and press down evenly;
- a rubber die that gives a crisp impression with fine detail;
- each stamp comes in its own little box with paper filling, so it makes a nice gift for a fellow postcrosser.
Postcard ID stamp
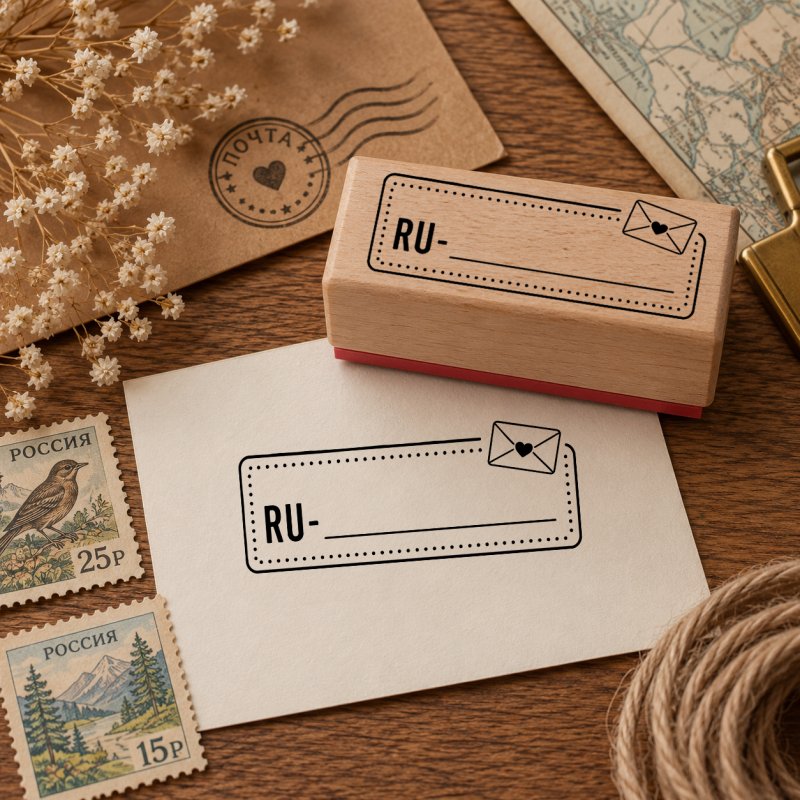
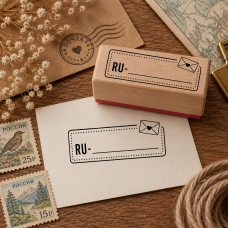
The most practical of the four. The Postcard ID is the code the recipient uses to register your card on postcrossing.com. If the code is hard to read, registering the card becomes a struggle, so it should be written clearly and where it is easy to spot. The frame already contains "RU-" and a line: you just write the digits of the code by hand. A small envelope with a heart sits in the corner of the frame.
Please note that the "RU-" prefix means this stamp is made for cards sent from Russia, as Postcard IDs begin with the code of the sender's country. The official postcrossing.com help pages recommend writing the ID on the left half of the card and, ideally, more than once — for example, inside the stamp frame and again at the end of your message.
Impression size: 4.2 × 1.7 cm.
Par AVION stamp
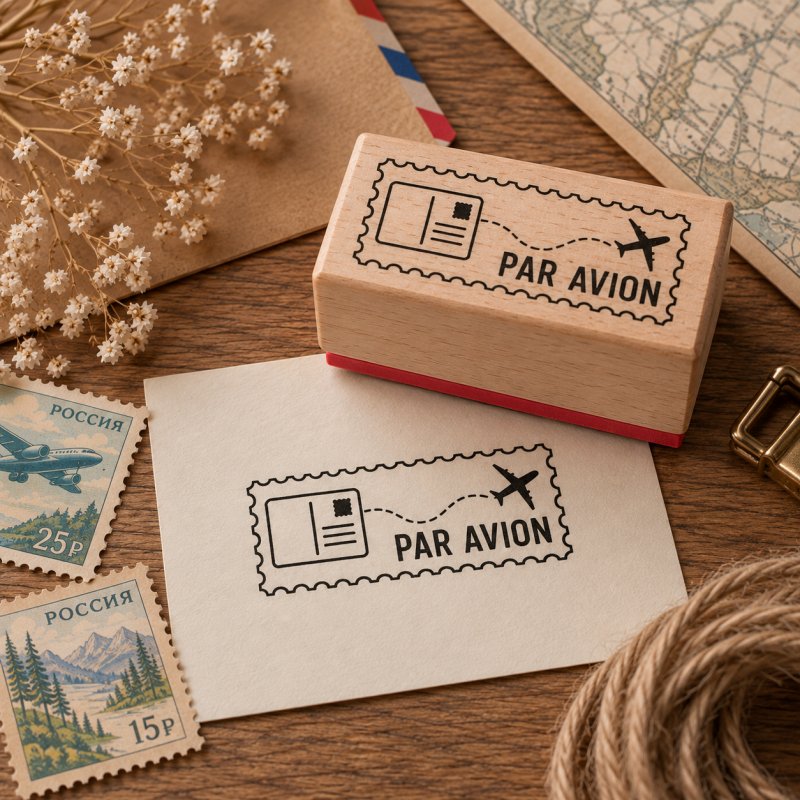
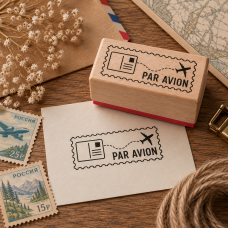
Par AVION is French for "by airmail", the classic mark of international post. The design shows a postcard and a little plane with a dotted flight path, inside a frame with perforated edges like a postage stamp.
An airmail mark tells the post office that the card travels at the airmail or priority rate, so use it on cards that carry enough postage for that rate. Unlike decorative impressions, Par AVION looks right above the address or next to the postage stamps — just make sure it doesn't cover either of them.
Impression size: 4.2 × 1.7 cm.
Happy Postcrossing stamp

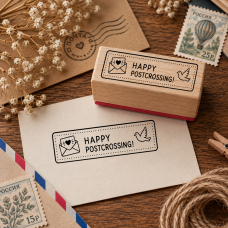
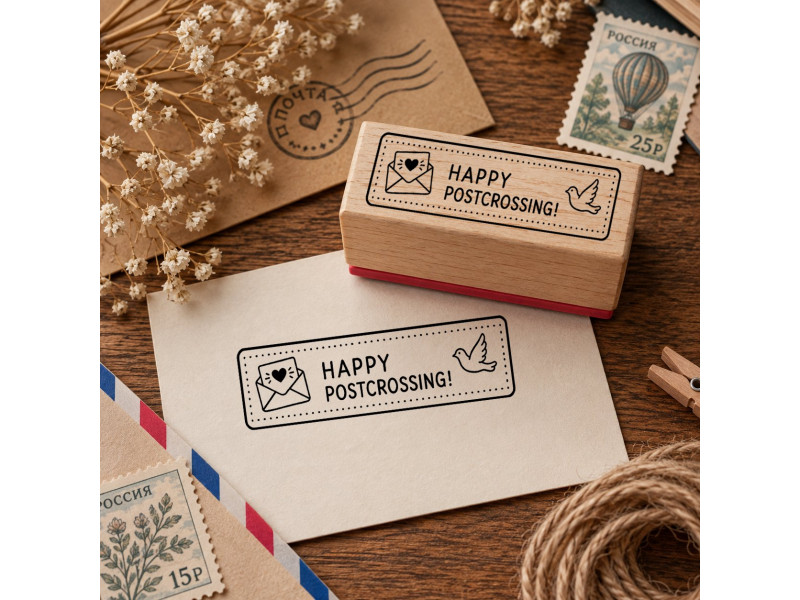
"Happy Postcrossing!" is how many postcrossers sign off their cards. In this design the words are joined by an envelope with a heart and a carrier pigeon — a warm goodbye you don't have to write out by hand every time.
Just let the stamp add to your message rather than replace it: in the community, a card with nothing on the back but "Happy Postcrossing" is considered poor form.
Impression size: 4.7 × 1.4 cm.
"I love postcrossing" stamp in Russian
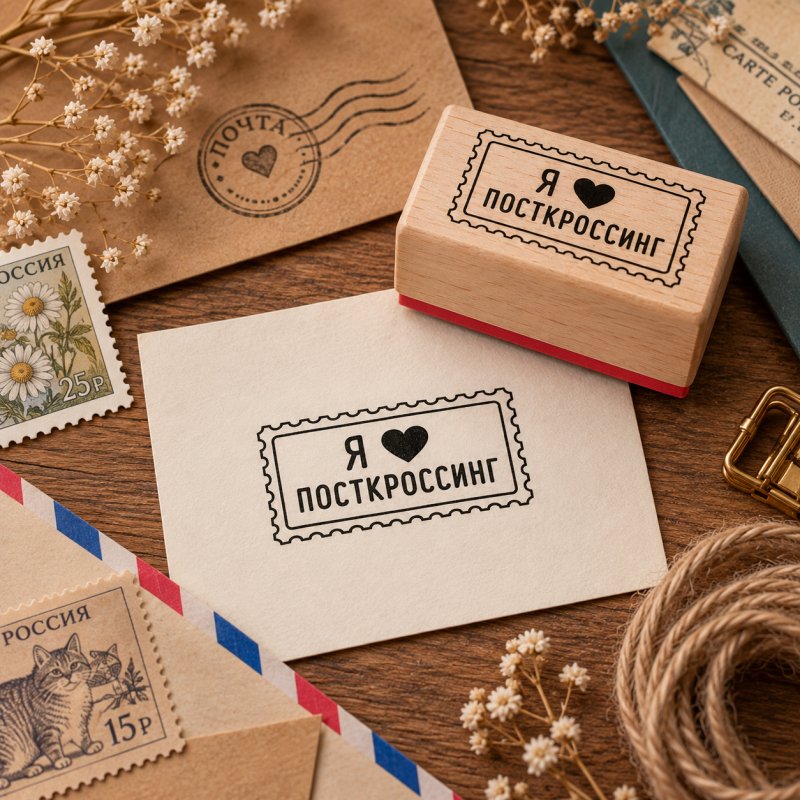
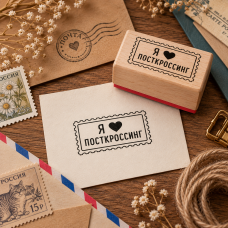
The only one of the four with Russian lettering: «Я ❤ посткроссинг» means "I ❤ postcrossing", with a heart in place of the word "love". The frame has perforated edges like a postage stamp. Some postcrossers ask in their profiles for a few words in Russian, and this stamp is a whole declaration of love for the hobby.
The block is slightly smaller than the others — 4 × 2 cm; impression size: 3.3 × 1.7 cm.
Important: the ink pad is sold separately
The stamps come without ink. Use ink pads with water-based ink. Avoid alcohol-based ink, as it can damage the rubber.
We stock single-colour pads in different shades and gradient pads, which give an impression that fades smoothly from one colour to another. All of them use water-based ink.
How to get a beautiful impression
- Practise on scrap first. You'll get a feel for how hard to press and see how the colour looks. Ideally, test on a card with the same kind of back.
- Ink the stamp. Tap it lightly on the pad a few times so the ink covers the whole design evenly.
- Stamp in one movement. Press the stamp straight down without rocking it, then lift it straight up. A notebook or another flat surface under the card helps.
- Let the ink dry. Wait until the impression has dried before writing your message or stacking cards, or it may smudge. Ink takes longer to dry on a glossy back than on matte paper, so don't rush.
- Clean the stamp. Wipe the rubber with a slightly damp cloth after use, and store the stamp away from direct sunlight.
Where to put the impression
The back of a postcard has two halves: the address and postage stamps go on the right, your message on the left. A few simple rules will help your card arrive safely and your stamp look its best:
- place decorative impressions on the left half, where your message will go (see above for Par AVION);
- don't cover the address or the space for postage stamps — the address must be easy to read;
- leave a strip of about 1.3 cm free along the bottom edge: that is where the post adds its own markings, and in some countries a barcode sticker;
- most importantly, don't get carried away and do leave room for your message. With a new stamp in hand it's tempting to add just one more impression… and then another. And suddenly there's only one line left for the message: "Hello!" :) Remember that you'll write the text after decorating, and to the recipient it matters just as much as the decorations;
- check the recipient's profile: if they ask for cards without decorations, it's best to skip the stamps.
A tip from Postal Shop:
Match the ink colour to the postage stamps or to the design on the front, and the whole back will look like one piece. We wrote about choosing beautiful postage stamps in "The art of the envelope: using stamps to create stunning mail art".
The main idea
A rubber stamp is the quickest way to make the back of a postcard look special: one press, and a neat impression appears, with plenty of room left for your words. You'll find all our stamps in the Stamps section and ink pads in your favourite colours in the Ink pads section. And for ideas on what to write next to your stamp, see "What to write on a Postcrossing postcard: 25 ideas".